
Power Calibration with Copper Mountain Technologies VNAs - Quick Start Guide
September 1, 2020Quick Start Guide
Performing amplifier, mixer, or other sensitive DUT measurements accurately and correctly depends on proper setup and appropriate calibration. Power calibration using power sensors at the DUT calibration plane ensures precise results.
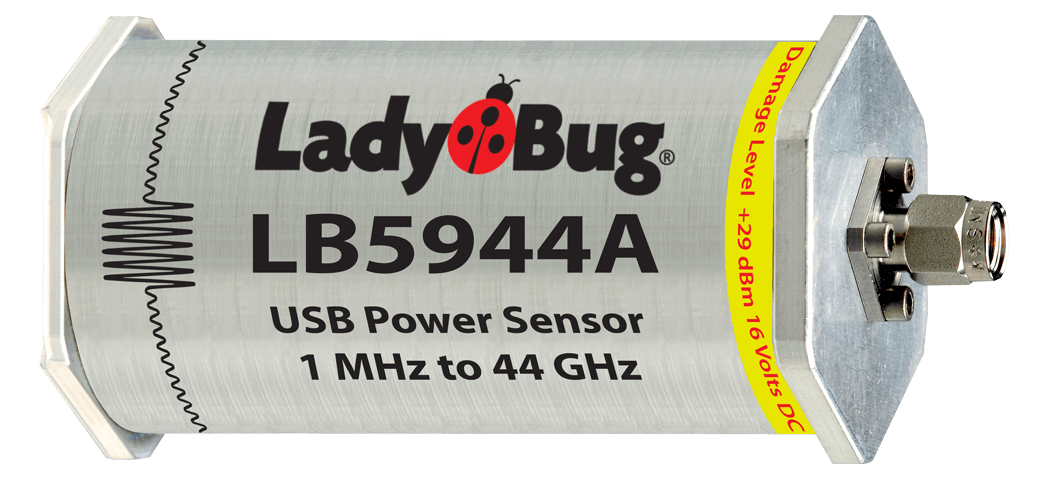
Copper Mountain Technologies VNAs support the following external power sensors:

Selecting Appropriate Power Sensor
To select the power meter: System > Misc Setup > Power Meter
NI USB-568x requires Com port setting. R&S NRVS power meter requires GPIB address settings. These settings are configured after choosing the power meter.
Checking Power Sensor Connection
To check the power meter connection: System > Misc Setup > Check Connection
Power Calibration
After connecting the sensor to one of the ports: Calibration > Power Calibration > Select Port
To zero power meter: Calibration > Power Calibration > Power Sensor Zero Correction
Power meter sensor can be connected to the port, as during zero setting the output signal of the port is turned off.
To execute power calibration: Calibration > Power Calibration > Take Cal Sweep
After the power calibration is complete, power correction automatically turns on.
To enable/disable power correction: Calibration > Power Calibration > Correction
Loss Compensation Table
The loss compensation function allows the user to apply compensation for unwanted losses produced between the power meter and the calibrated port in the process of power calibration. To have the losses compensated the Loss Compensation function needs to be enabled and table would have to be filled out. Linear interpolation will be applied to the losses in the intermediary frequency points. The loss compensation table is defined for each port individually.
Calibration > Power Calibration > Loss Compen – ON
To enable the loss compensation function: Calibration > Power Calibration > Loss Compen > Compensation
To add a new row to the loss compensation table: Calibration > Power Calibration > Loss Compen > Add
To delete highlighted row: Calibration > Power Calibration > Loss Compen > Delete
To clear the table: Calibration > Power Calibration > Loss Compen > Clear Loss Table
To save the table into a *.lct file: Calibration > Power Calibration > Loss Compen > Export Loss Table
To open the table from a *.lct file from the hard: Calibration > Power Calibration > Loss Compen > Import Loss Table
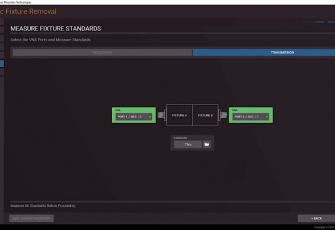
Automatic Fixture Removal Plug-in Method Selection
-